

_____________________________________________________________________________________

____________________________________________________________________________________________________________________________
Halloween is my most favorite holiday of the year, so everytime it comes around I go nuts with decorations and costumes. I just love making my house all festive with a theme – this year we chose purple and black as our colors and we decided not to spook it out too much so that the little ones can enjoy it too. That’s why I love this simple, cheap version of a Halloween wreath!

Would you believe that the whole thing cost me $10?? Yup! I made 2 of these beauties for a mere $20 bucks and my house looks fabulous! All items for this project can be found at your local Dollarama too!
What you need:
- 2 witches hats with feather trim ($3) I chose black
- 1 large roll of bendable burlap ($4) I chose purple
- 1 sparkly item of interest *pumpkin ($1)
- 1 bunch of flowers with spiders ($1)
- 1 glue gun
- scissors
Instructions:
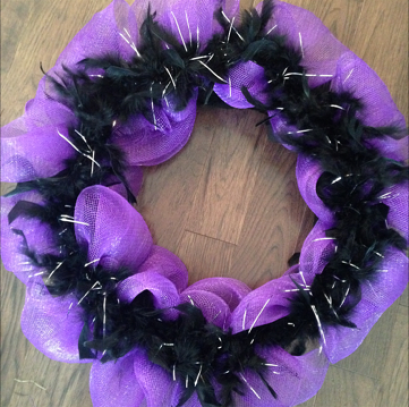
Cut the ‘cone’ part out of the witches hat as closely as possible to the feather trim. You will end up with a circle wreath shape like this one:

You will notice that the feathers are actually adhered to the fabric in a pattern leaving holes in between each fastening. Make sure to feed the burlap fabric through these hoops – in and out – leaving room for fluffing later.


Now that you have the basis of your wreath you are ready to decorate! Here’s where the glue comes into play, although you can adhere the fancy fixings by simply bending them to hold too.
Voila! The cutest (and cheapest) wreath you will ever make! Keep this process in mind for Christmas wreaths too!


